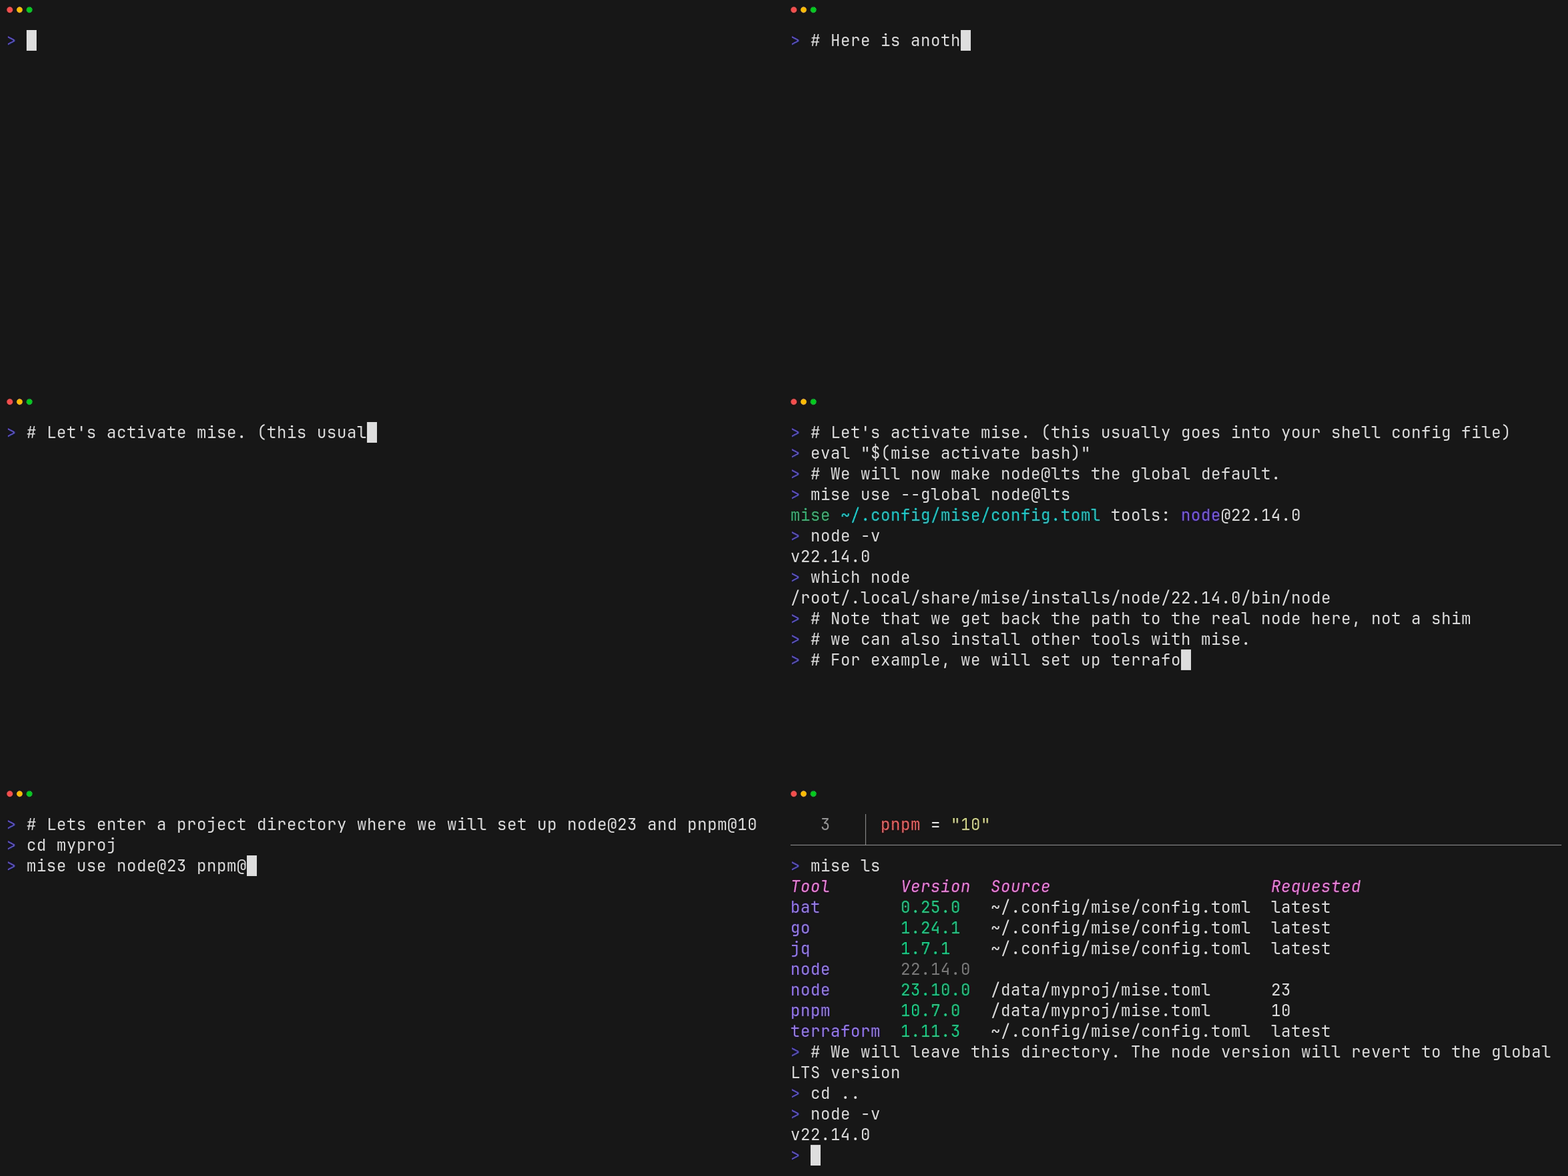
mise — единый менеджер тулчейнов: устанавливает и переключает версии Node.js, Python, Go, Rust, Ruby, Java и сотен других инструментов по файлам .mise.toml/.tool-versions, активирует версии автоматически при входе в директорию, умеет запускать задачи проекта (как make), работает быстрее asdf. Заменяет nvm, pyenv, rbenv и аналоги.
Что умеет: — управлять версиями десятков рантаймов; — автоматически переключать версии по директории; — запускать задачи проекта; — работать быстрее asdf.
Полная документация ниже — автоматически из репозитория jdx/mise (ветка main). Оригинальные материалы проекта распространяются на условиях его лицензии.
mise (pronounced "meez", short for mise-en-place) manages a project’s dev
tools, environment variables, and tasks from one mise.toml that works across
your shell, editor, and CI:
[tools]
node = "24"
python = "3.14"
rust = "stable"
"cargo:cargo-nextest" = "0.9"
"github:BurntSushi/ripgrep" = "15"
"npm:prettier" = "3"

[env]
NODE_ENV = "development"
_.file = ".env"
_.path = "./node_modules/.bin"

[tasks.build]
description = "Build the application"
run = "npm run build"

[tasks.test]
description = "Run the test suite"
depends = ["build"]
run = "pytest && npm test"
Install dev tools such as Node.js, Python,
Go, Rust, and Terraform from a registry of 1,000+ tools or directly
from backends like GitHub
releases, Aqua, Cargo, npm, and PyPI, with separate versions per project.
Load environment variables, .env
files, PATH entries, virtualenvs, and secrets automatically as you
enter a directory.
Run tasks defined in mise.toml or as scripts
in mise-tasks/, with dependencies, parallel execution, file watching, and
the project’s tools and environment already configured.
Set up a machine with mise bootstrap
and mise dot apply to apply system
packages, dotfiles, Git repositories, macOS defaults, and background services.
Adopt only the parts you need. Start with a single tool or task, and keep any
existing .tool-versions files as they are; mise also reads .nvmrc, .python-version, and other idiomatic version files
once enabled.
curl -fsSL https://mise.run | sh
~/.local/bin/mise --version
On Windows, run winget install jdx.mise. For Homebrew, apt, dnf, Scoop, and
other package managers, see Installing mise.
The installer places the binary at ~/.local/bin/mise. If ~/.local/bin is not
on your PATH yet, run ~/.local/bin/mise in place of mise until you
activate mise in step 4.
2. Run a tool without changing your shell
mise exec node@24 -- node --version
# v24.x.x
mise exec downloads Node.js 24 if
needed and runs the command after -- with that version on PATH. Your shell
and config files stay untouched.
3. Configure a project
Create a project directory, select Node.js 24, set an environment variable, and
add a task:
mkdir my-project && cd my-project
mise use node@24
mise set NODE_ENV=development
mise tasks add hello -- node -e "console.log(process.version, process.env.NODE_ENV)"
These commands install Node.js 24 and write mise.toml:
mise run hello
# [hello] $ node -e "console.log(process.version, process.env.NODE_ENV)"
# v24.x.x development
Commit mise.toml so teammates and CI get the same setup when they run mise install or mise run. "24" requests the latest release in the Node.js
24 series; run mise lock to record exact versions and checksums in a lockfile, or mise use --global node@24 to set a personal default in ~/.config/mise/config.toml.
4. Activate mise in your shell (optional)
Shell activation updates PATH and project environment variables whenever you
change directories, so you can invoke node directly without mise exec. If
you installed with mise.run, run the command for your shell once, then open a
new terminal:
Report bugs in GitHub Issues. Check Troubleshooting first, and
include the command you ran, a minimal mise.toml, the expected and actual
behavior, and your mise doctor output after reviewing it for private
details.